
A pair of very Canadian shoulder planes

On April 18, 2020 my friend Colin Cripps sent me a message. It went something like this,
‘Hi Konrad, hope all is well! I was thinking, I still have some of the Silver maple from the ‘Maple Leaf Forever’ tree which was used to build the acoustic and electric guitars I commissioned in 2014. If you are interested in a piece to use in a plane, I'd be happy to give you some.’
My friend Tom Bartlett (and incredible electric guitar maker) made the electric for Colin, and had told me about this special wood as he was working on it.

(the electric guitar Tom made)
Here is the back story.
in 1833, Alexander Muir emigrated from Scotland to Toronto Ontario - he was three years old. He grew up in the Toronto area where he was a teacher, songwriter, poet and a soldier (he fought at the battle of Ridgeway shortly before Canada’s confederation). He wrote the song, ‘The Maple Leaf Forever’ in1867 to commemorate Canada’s confederation, drawing inspiration from a large Silver Maple tree on his street in front of Maple Cottage. For many years, the song was considered the unofficial national anthem - ‘O Canada’ wasn’t written until 1880 and only adopted as our official national anthem in 1980.
In July of 2013, a windstorm knocked down the maple tree that had inspired Alexander. The wood was harvested, and used for various culturally significant items like the speakers podium at Toronto City Council, the gavel for the Supreme Court of Canada and the ‘Maple Leaf Guitars’ (an acoustic and electric) that Colin commissioned. The guitars were given to various Canadian musicians for a year as part of a custodianship. The first custodians (2016) were Colin Cripps of Blue Rodeo (the acoustic made by Dave Fox) and Paul Langlois of the Tragically Hip (the electric).
Needless to say, when Colin offered - I jumped at the opportunity. There was only one possible way to do this - stabilized it, and dye it maple leaf red.
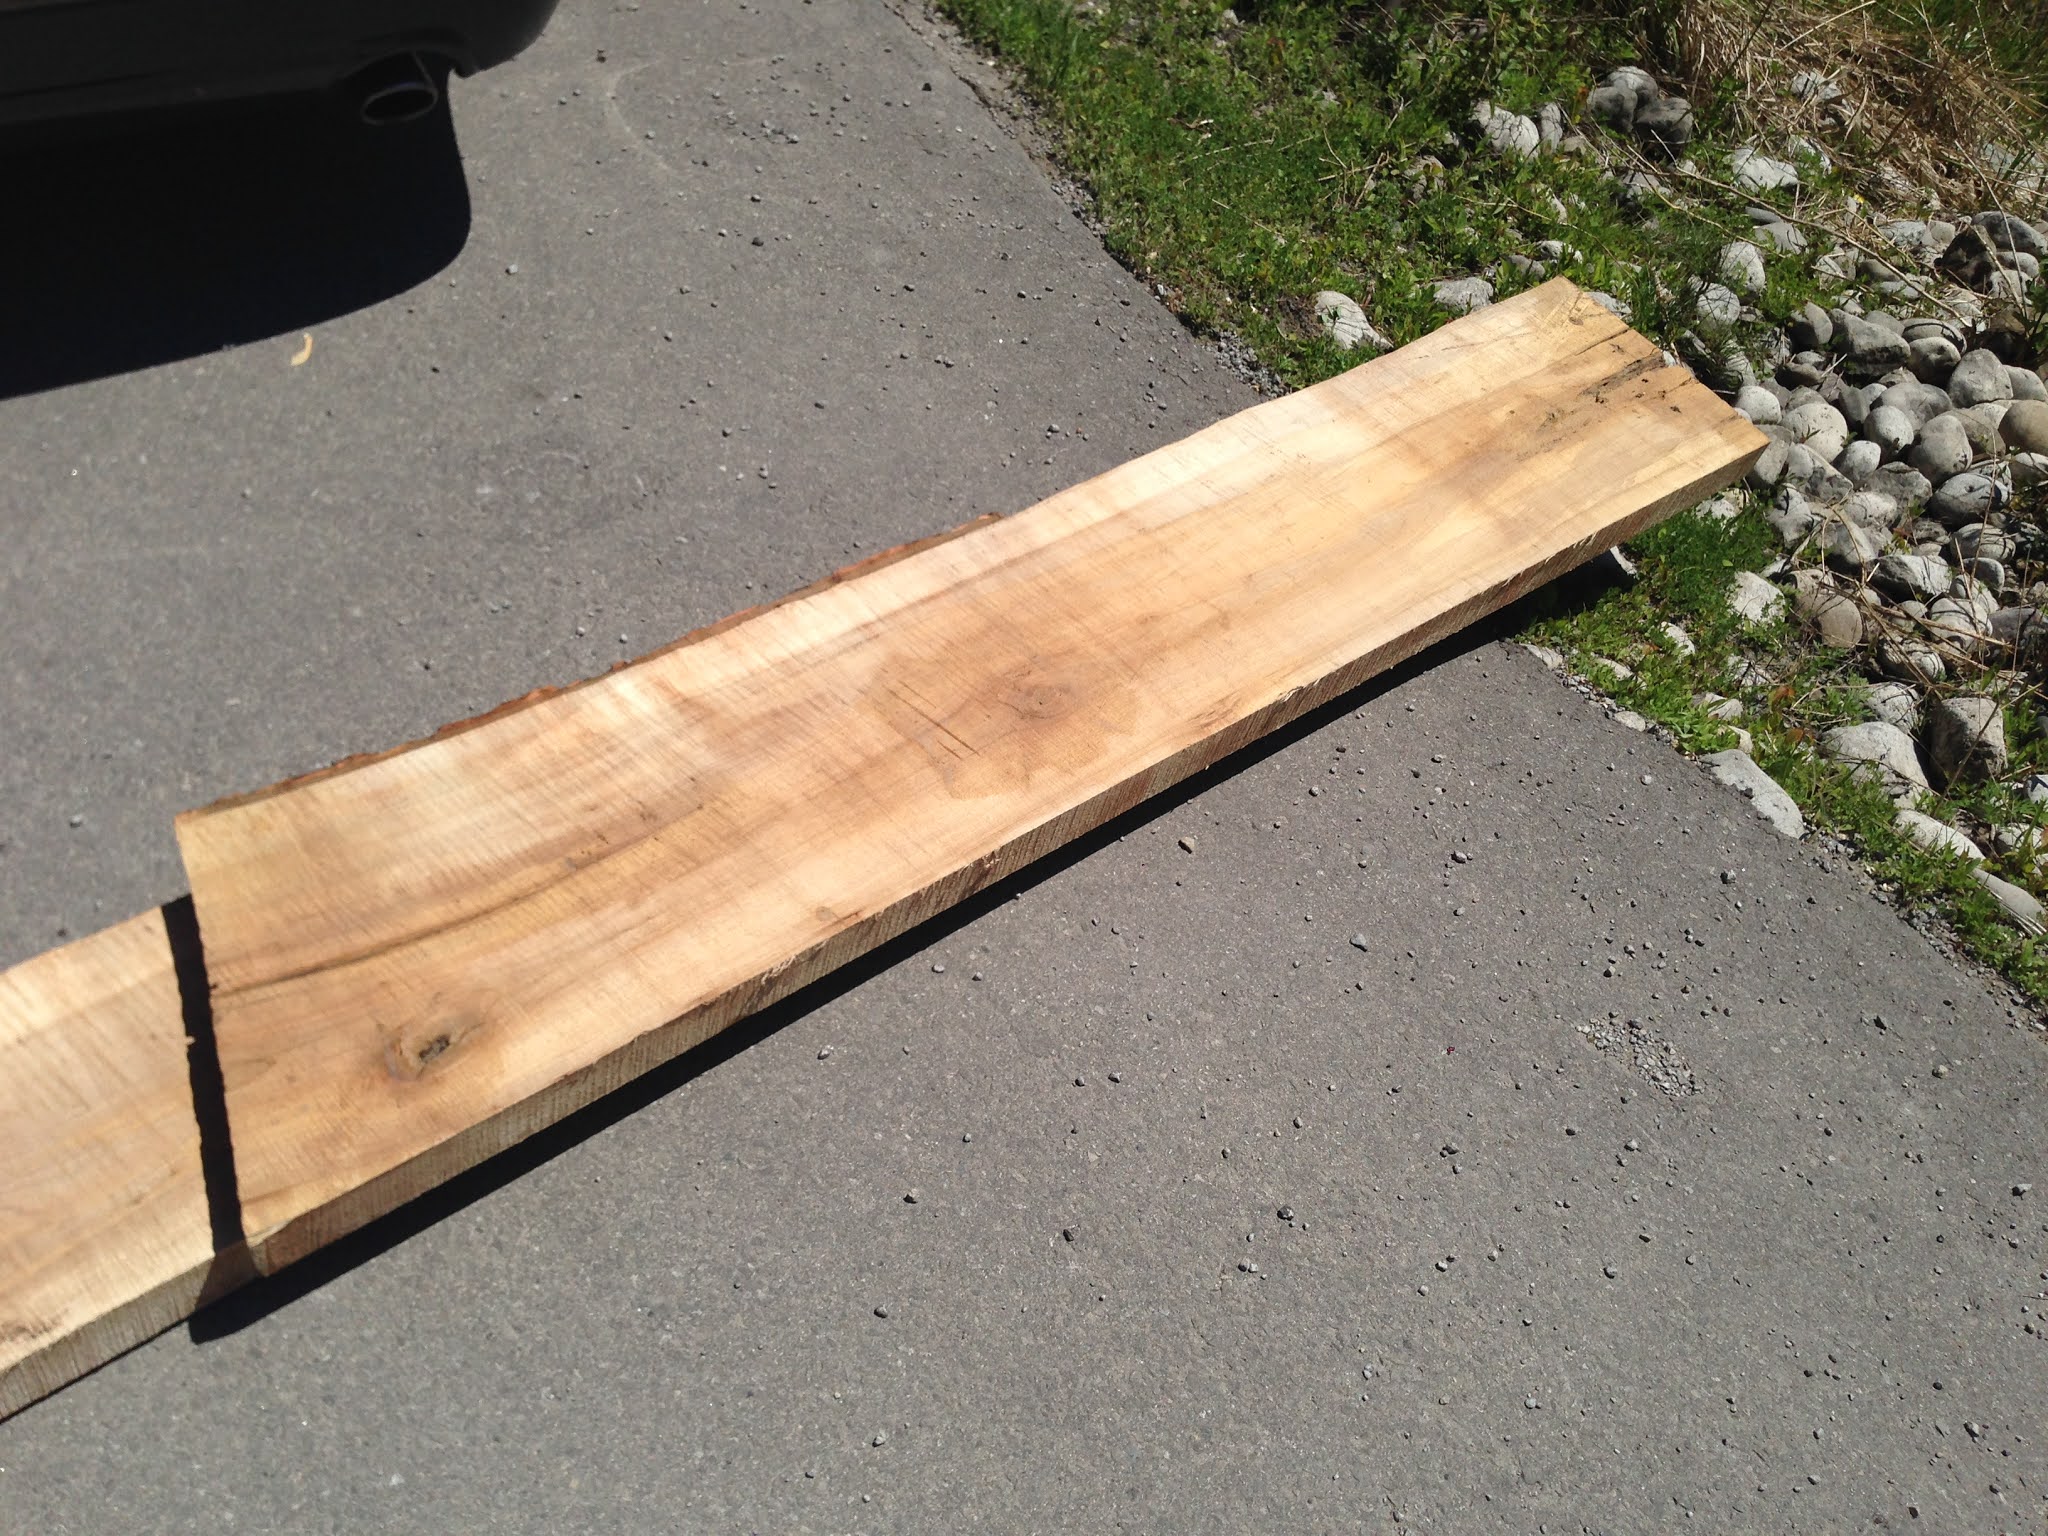
Colin sent me the first photo showing the stamp and the above photo to show me the material he initially received. The piece below is what was left over.

The shoulder plane parts mapped out. The grain was pretty simple, but there was some slight change in color and with the fingernail test - it seemed like changes in density too. So I oriented parts with the hoped that the changes in color and density would translate into something interesting after it was stabilized and dyed.


(roughed out parts to be sent out and stabilized and dyed)

(the maple leaf red parts, dyed and stabilized by my friend Marc Solomon in Toronto)

I had to flatten one face and an edge in order to saw them to thickness and closer to the final sizes.

(All the little offcuts are saved)


(Test fitting the front infill)

Holding things in place in order to pien the cross pins. I don’t use any adhesive - it is unnecessary and messy.


As I refined the shaped, these wonderful white streaks started to show up. I was thrilled!


(My personal serial number - ‘Konrad’s Plane No.49, made in 2020)
I am keeping one of the planes, the other is going to Robin Lee and will be a part of the Lee Valley collection. I could not think of a better home for this piece of Canadian history. The maple leaf stamped into the bed was a stamp bought from Lee Valley way back in 1999(?) when Joe Steiner and I first started this adventure.

(Sawing off the top edge of the steel keeper.)

The final shaping and polishing of the front of the shoulder plane. The white pencil crayon grid helps me keep track of where I am working.


Before and after - one plane lapped, one to go.


My favourite part of making shoulder planes is shaping the top of the plane. Blending the steel sidewalls and infills into a single, constantly changing shape is just the kind of challenge I love - likely influenced by the fact that it would not be easy to do any other way than by hand.


Cutting the mouth is the most stressful part of making these. I use a hacksaw to cut a kerf from the sole of the plane, then saw the bed, and finally the leading edge to remove the triangular piece in the middle.


After a bunch of file work and some careful fitting, the bed is done and ready for testing. Once this is done, I suspect I let out a little sigh of relief... the hard part is over.


The top plane is the prototype from several years ago... I still like to refer to it as a reminder of what the shapes look like... or if it is time to try something a little different.

shaping the last chamfer on the body of the plane - to connect the two chamfered sides. This is a design element brought over from the first k-series plane the K13.

The plane is oriented vertically with the chamfer at a level position.


Some photos of the first completed plane, fully chamfered, polished to 2000 grit, waxed with renaissance wax and buffed.


And a bunch of shots of the pair.


posted by Konrad at
14:36
11 Comments
![]()
11 Comments:
I think your work is so deserving a reason for repurposing this significant wood, Konrad.
Simply spectacular workmanship and beauty in the execution of these planes.
I am more than thrilled to have helped inspire you to create such lasting and historically special pieces.. Cheers,Colin
Thank-you Colin. Very kind of you. Hopefully when we are able, you can try the plane in person.
warmest wishes,
konrad
Absolutely beautiful isn't saying enough.
thank-you!
That's very, very cool! A great story that unfortunately is not as well known out here on the prairies. The association of the Maple Leaf is a little tricky for us westerners, since the Maples really don't grow much in our climate. I do though remember about 10 to 15 years ago while visiting the Maritimes in the fall, finally for the first time seeing real red leaves at my feet. That really helped make the connection for this very large country.
Thanks Ric.
Naively, I didn't realize maple doesn't grow out your way. It is a pretty special time of the year in the east seeing all the maple trees turn.
cheers,
konrad
It's fascinating to me to think about a tree, that inspired a song written about a country still so young that the city/province I now live in didn't even exist, and was just vaguely charted territory. We are still a very new world.
Those are simply gorgeous. And a great story to go with them. Wow.
Amazing work! As a novice woodworker, I have no idea how the metal work is done. It appears to be separate side and base pieces, but how do you achieve that seamless finish?
Inspirational work!
Lovely wood and wonderful work on the planes. Brilliant.
Post a Comment
Subscribe to Post Comments [Atom]
<< Home